
Preparing Your Kitchen for a Wrap: Expert Tips and Advice
Understanding Kitchen Wrapping
Kitchen wraps have become an increasingly popular solution for homeowners looking to revamp their kitchen's aesthetic without the hefty price tag of a full renovation. This process involves applying a specialized vinyl material over your existing cabinetry, countertops, or even appliances. Not only is it cost-effective, but it's also a quick way to transform your kitchen's look.
Before diving into this project, it's important to understand the types of wraps available and what they can achieve. You can choose from a wide array of colors, textures, and finishes to suit your style. Whether you prefer a sleek, modern look or a more traditional feel, there's a wrap design for everyone.
Preparing Your Space
Proper preparation is key to ensuring a successful kitchen wrap application. Start by clearing out your kitchen. Remove all items from countertops and empty your cupboards. This will not only make the wrapping process easier but also prevent any accidental damage to your belongings.
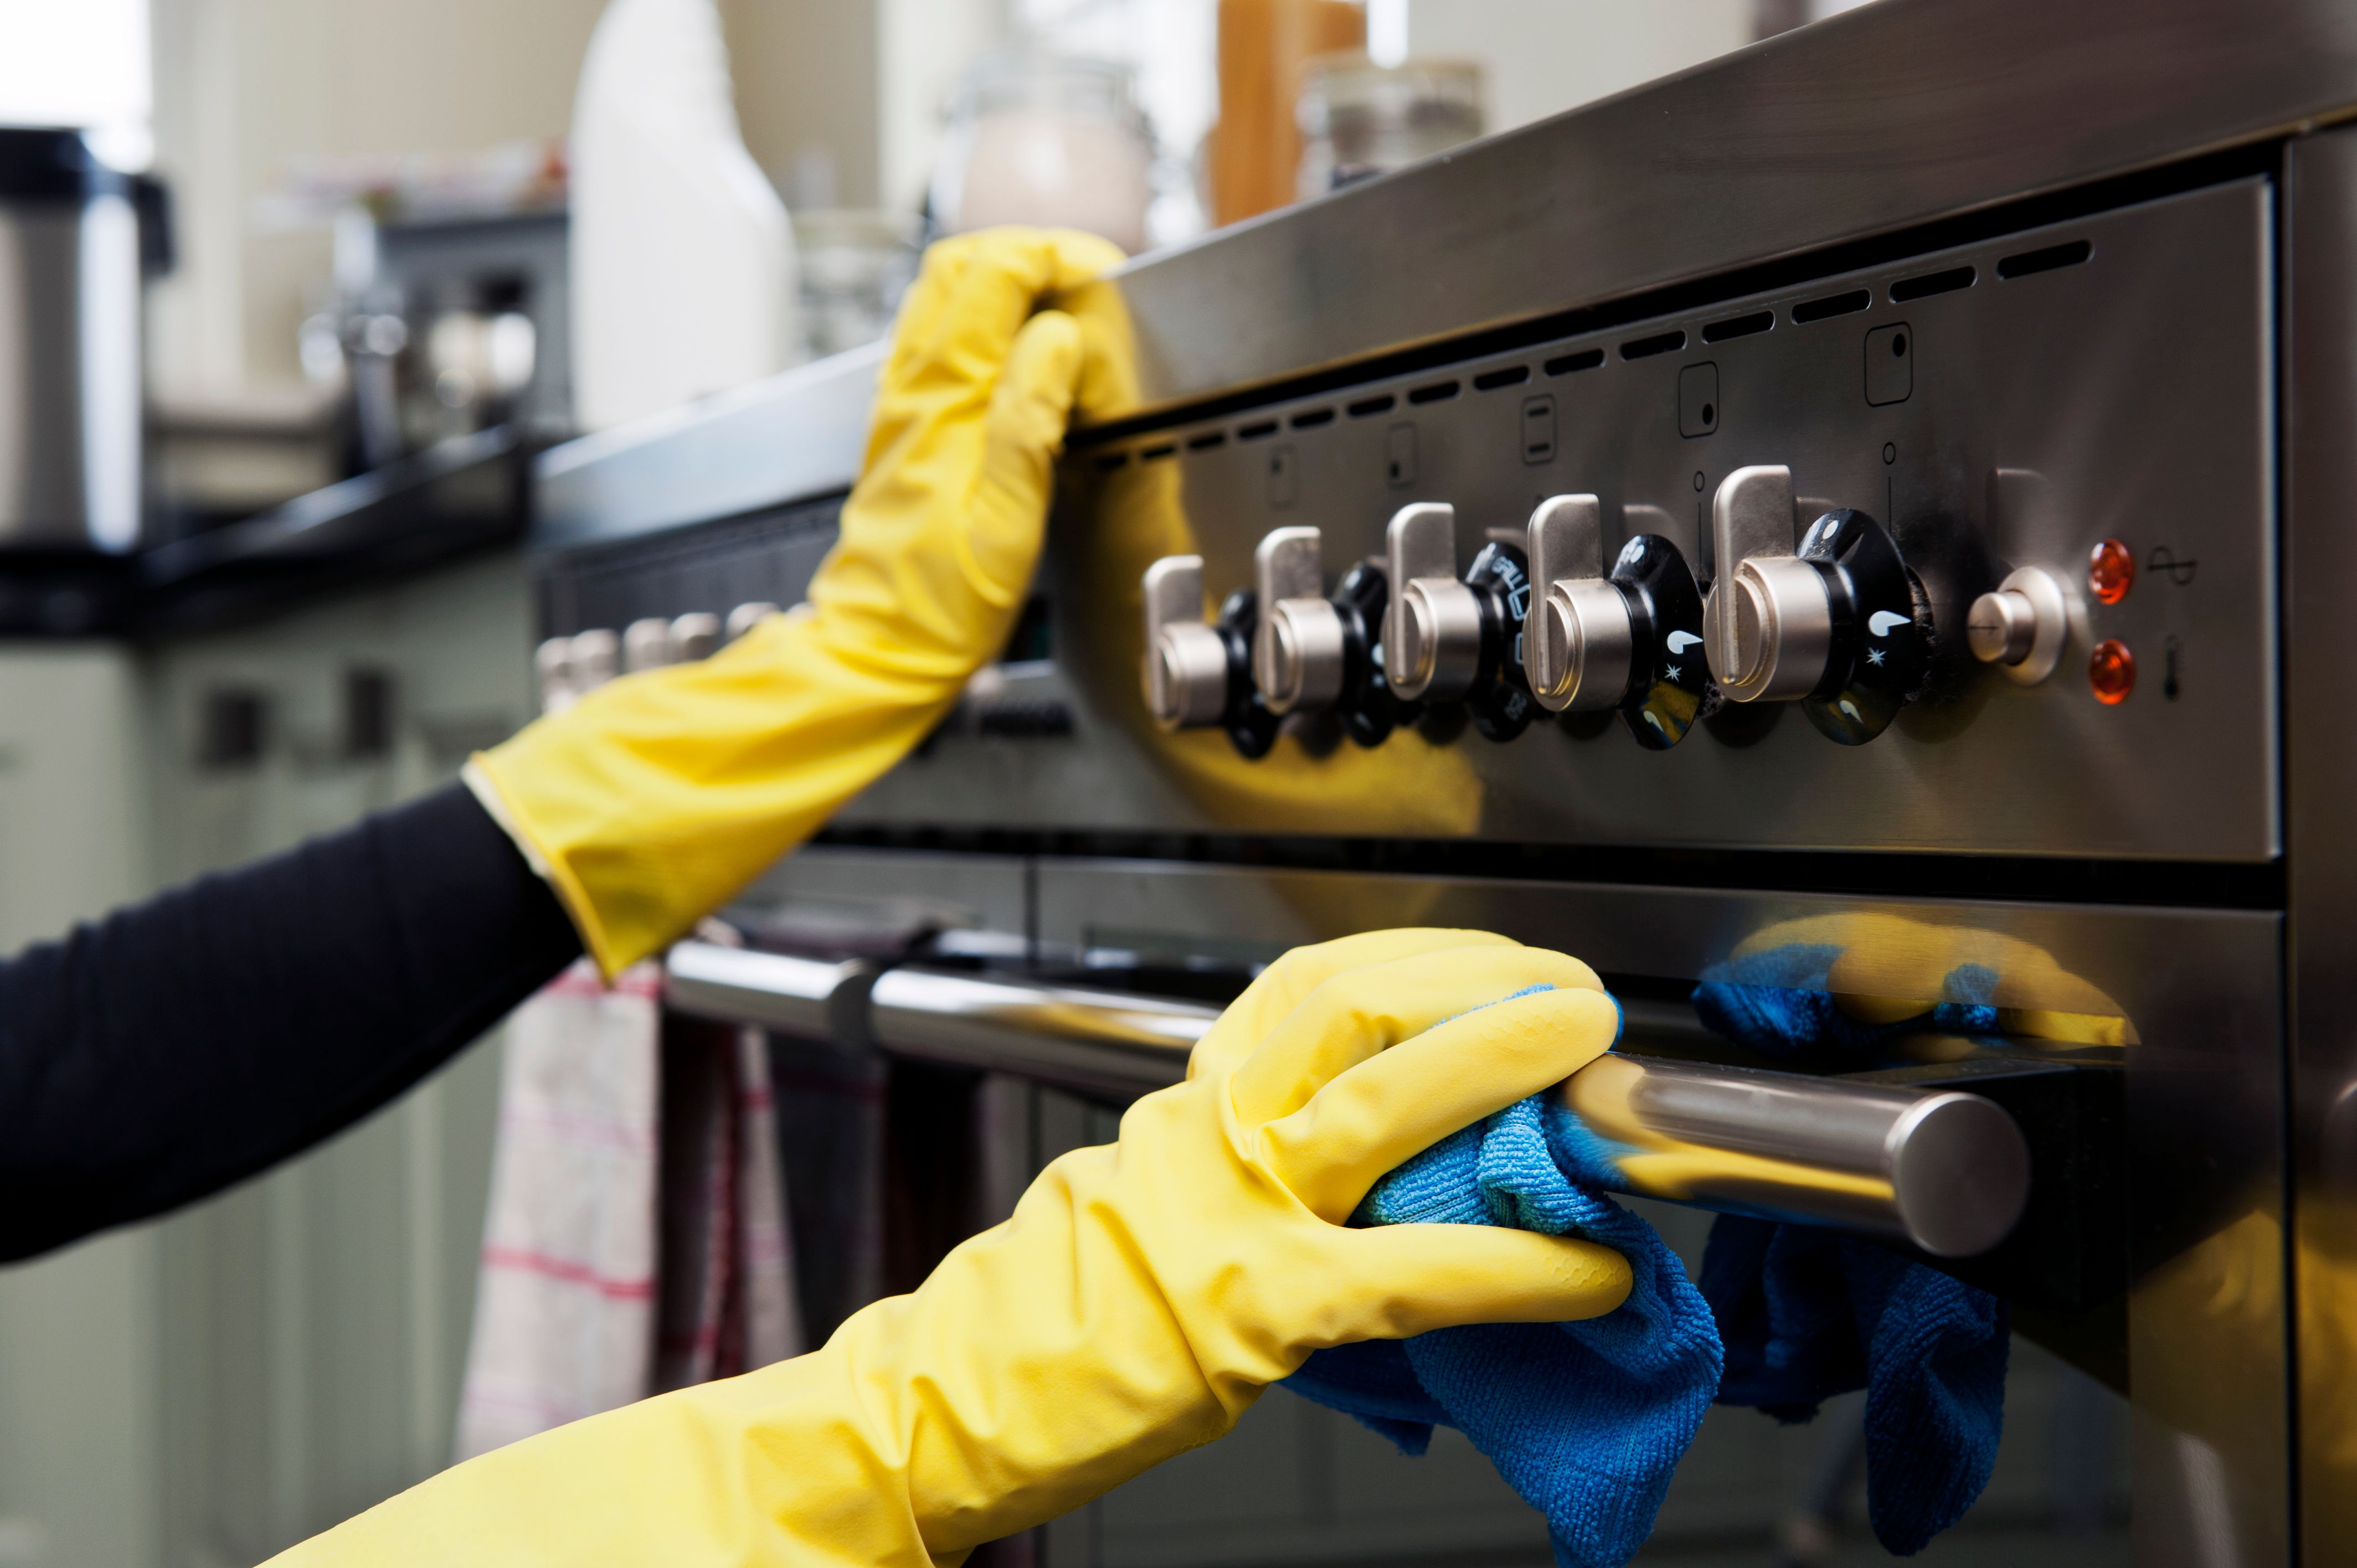
Next, give your kitchen a thorough cleaning. Use a degreaser to remove any grease or grime from surfaces. It's crucial that the surfaces are completely clean and dry before applying the wrap, as any dirt or moisture can affect the adhesive quality. Pay extra attention to corners and edges where dirt tends to accumulate.
Assessing Kitchen Surfaces
Before beginning the wrapping process, inspect all surfaces for damage or imperfections. Look for chips, cracks, or peeling paint that may interfere with the wrap's adhesion. It's best to repair these issues beforehand. Minor damage can often be fixed with wood filler or sandpaper.
Additionally, consider the material of your cabinets and countertops. Some surfaces, like untreated wood or textured finishes, may require special attention or primers to ensure the wrap adheres properly.
Choosing the Right Wrap
With many options available, choosing the right wrap can be overwhelming. Consider the overall style and color scheme of your kitchen. Are you looking for something bold and dramatic, or subtle and neutral? The choice of finish—matte, gloss, or textured—can also significantly affect the final look.
It's wise to order samples before making a final decision. This allows you to see how different wraps look in your kitchen's lighting and how they complement other elements in the space.
Working with Professionals
While DIY wrapping is possible, hiring professionals can ensure a flawless finish and save time. Professionals have the experience needed to handle tricky areas and can provide advice on design choices. They also have access to high-quality materials that may not be readily available to consumers.
If you decide to go the DIY route, make sure to follow instructions carefully and take your time with each step. Mistakes can be costly and time-consuming to fix.
Post-Wrap Maintenance
Once your wrap is applied, proper maintenance will prolong its lifespan. Clean wrapped surfaces with mild soap and water, avoiding harsh chemicals that can damage the vinyl. Be mindful of heat sources like ovens and kettles, as excessive heat can cause wraps to peel.
Regularly check for any signs of wear and tear, especially in high-use areas. Addressing minor issues promptly can prevent them from becoming bigger problems down the line.